Creating the store
Before starting a new project we'll need to set up a development store. Creating a store is a very simple process. We'll want to go to our partners area and then click "Add store"

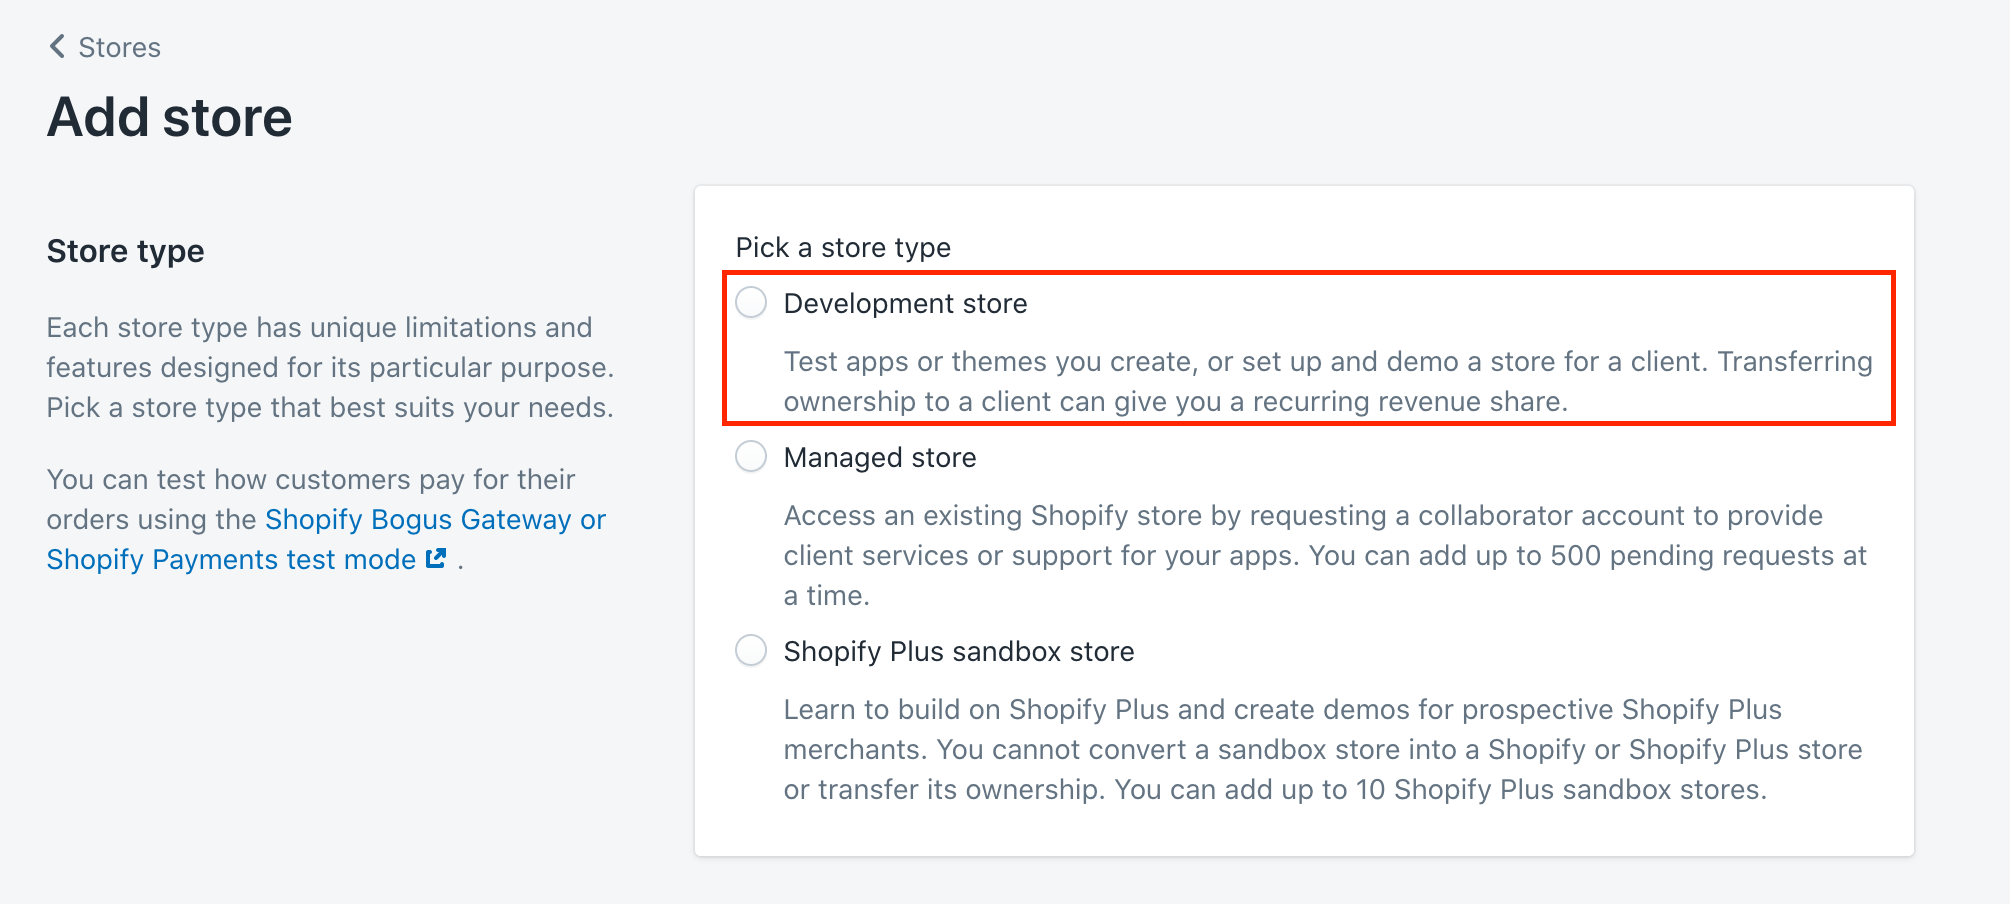
We'll then want to make it a "Development store"
Information
Store name
We should try and use the merchants name where possible. So, for example, if we are setting up a store for "By Association Only" then we'll call it "By Association Only". In the event that the store name is already taken we'll add "UK" at the end so we can keep is as close tot he branch name as possible.
Password
The password should always be bao$THE_BIT_FROM_THE_BRAND_NAME_THAT_MAKES_SENSE. Ideally, any dev at BAO should be able to guess it. A few examples from projects:
- Anya Hindmarch ->
baoanya- Very straightfoward. Just using the first bit of the brand name
- Globe Trotter ->
baoglobe- Very straightfoward. Just using the first bit of the brand name
- Gifts by Mint ->
baogifts- Very straightfoward. Just using the first bit of the brand name
- Schumacher ->
baoschu- Slightly different in that
baoschumacherwould be a mouthful to type everytime so we shorten it appropriately.
- Slightly different in that
Store purpose
Build a new store for a client
Once all of that information is filled in we can create the store.
After creating
Setting the stores password
Once the store has been created the first thing you'll want to do is go to "Online Store" -> "Preferences" and change the password to be the same as the one set on the store creation page.
Creating the private app
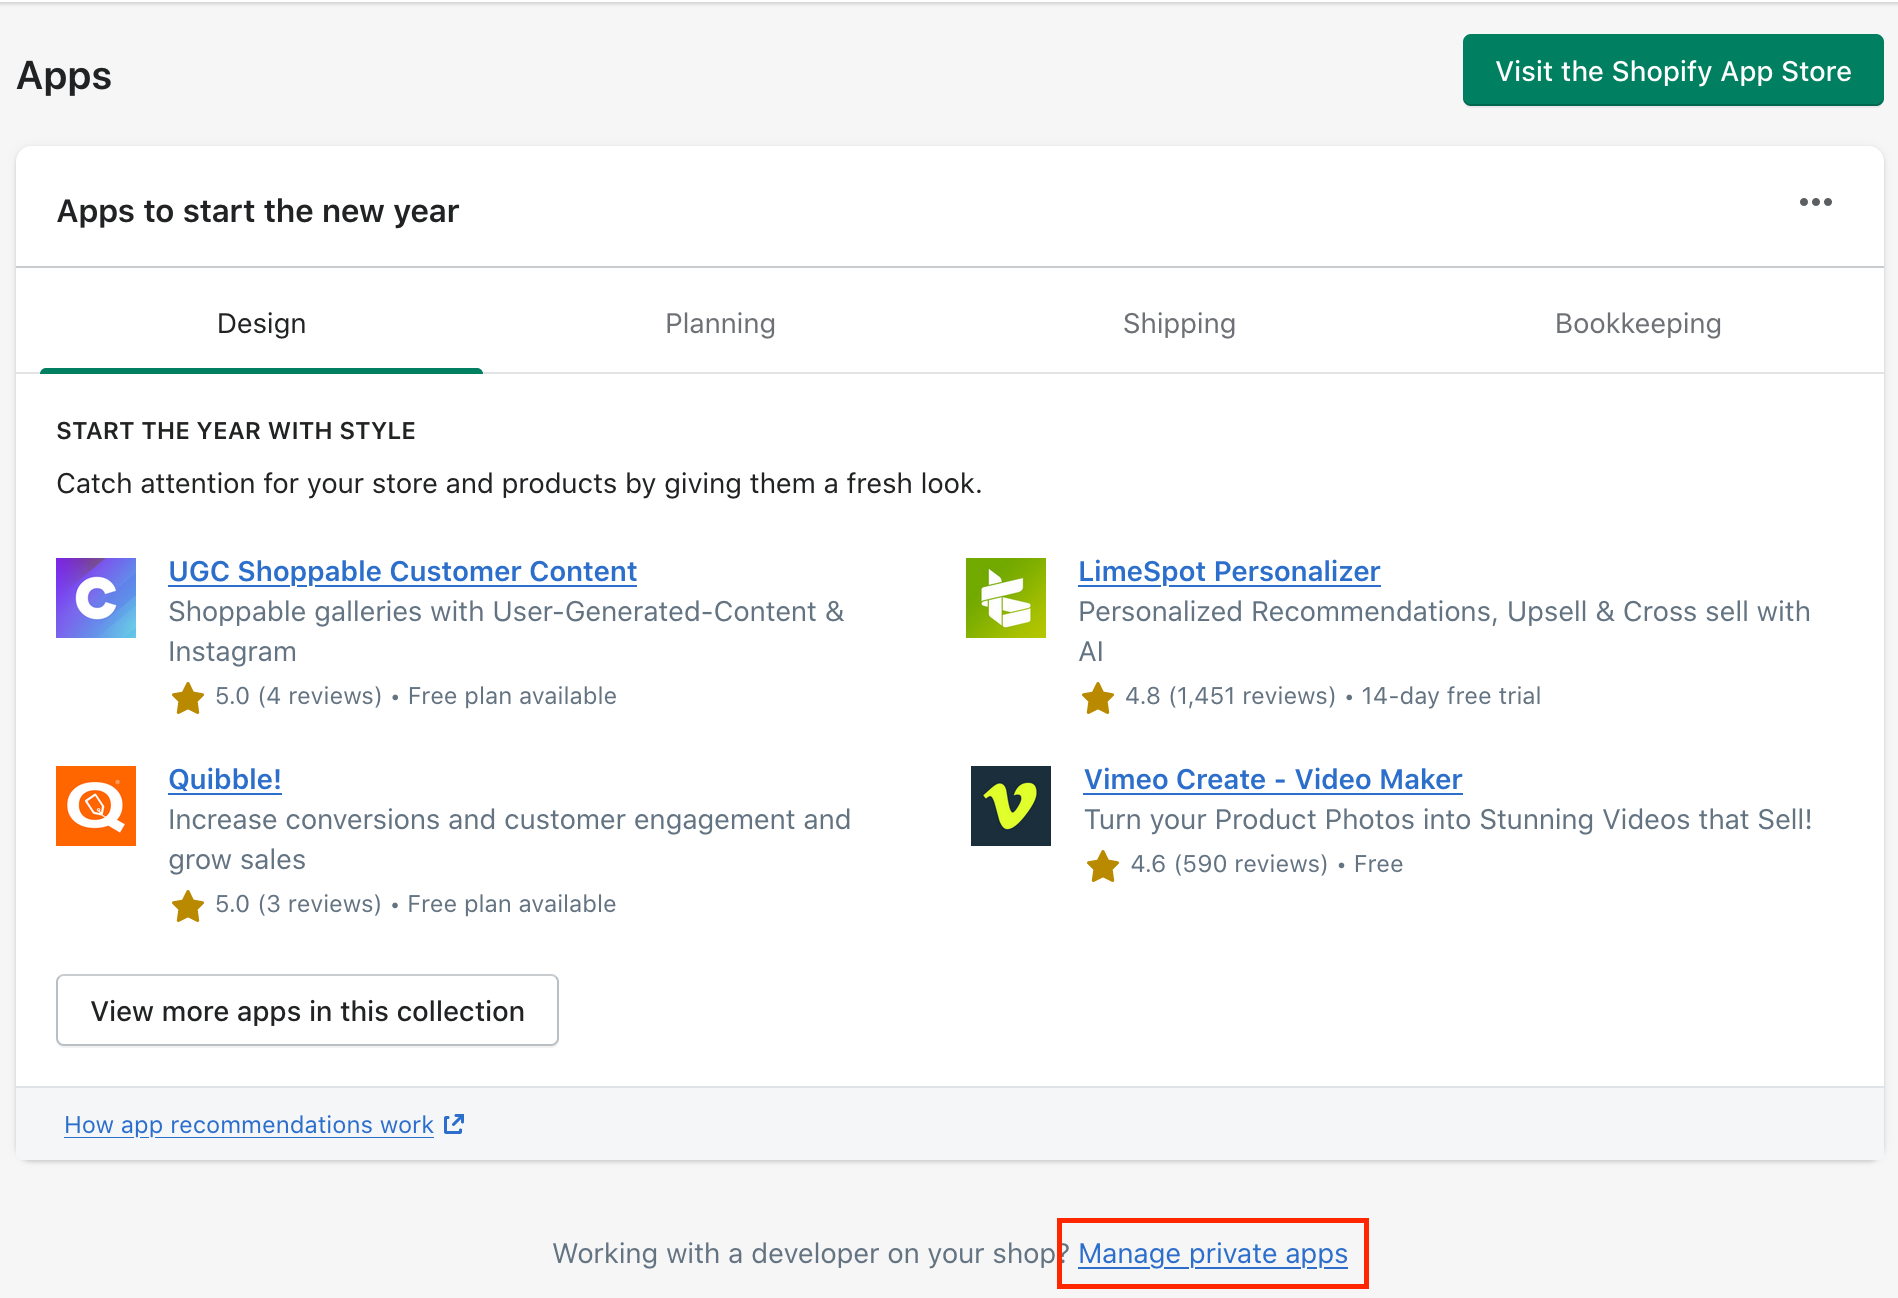
You'll want to go to "Apps" -> "Manage Private Apps". Once there you'll need to enable private apps. Once that's done and you get to the creation screen we'll want to fill out the following options
Private app name
BAO Theme Access
Emergency developer email
development@bao.agency
Permissions
Only Read and write for Themes
Setting up the project
Requirements
You can skip this step if you've already done this
Before setting up a project you'll need to make sure you have the following:
- a
GITHUB_TOKENenvironment variable - node version
13.x(You can use something like nvm or fnm to manage this) - git (
brew install git) - git-flow (
brew install git-flow) - yarn (
brew install yarn) - Have a directory existing at
~/Code(mkdir ~/Code)
You can achieve the last 4 steps by running this command brew install git git-flow yarn && mkdir ~/Code (assuming you have homebrew installed
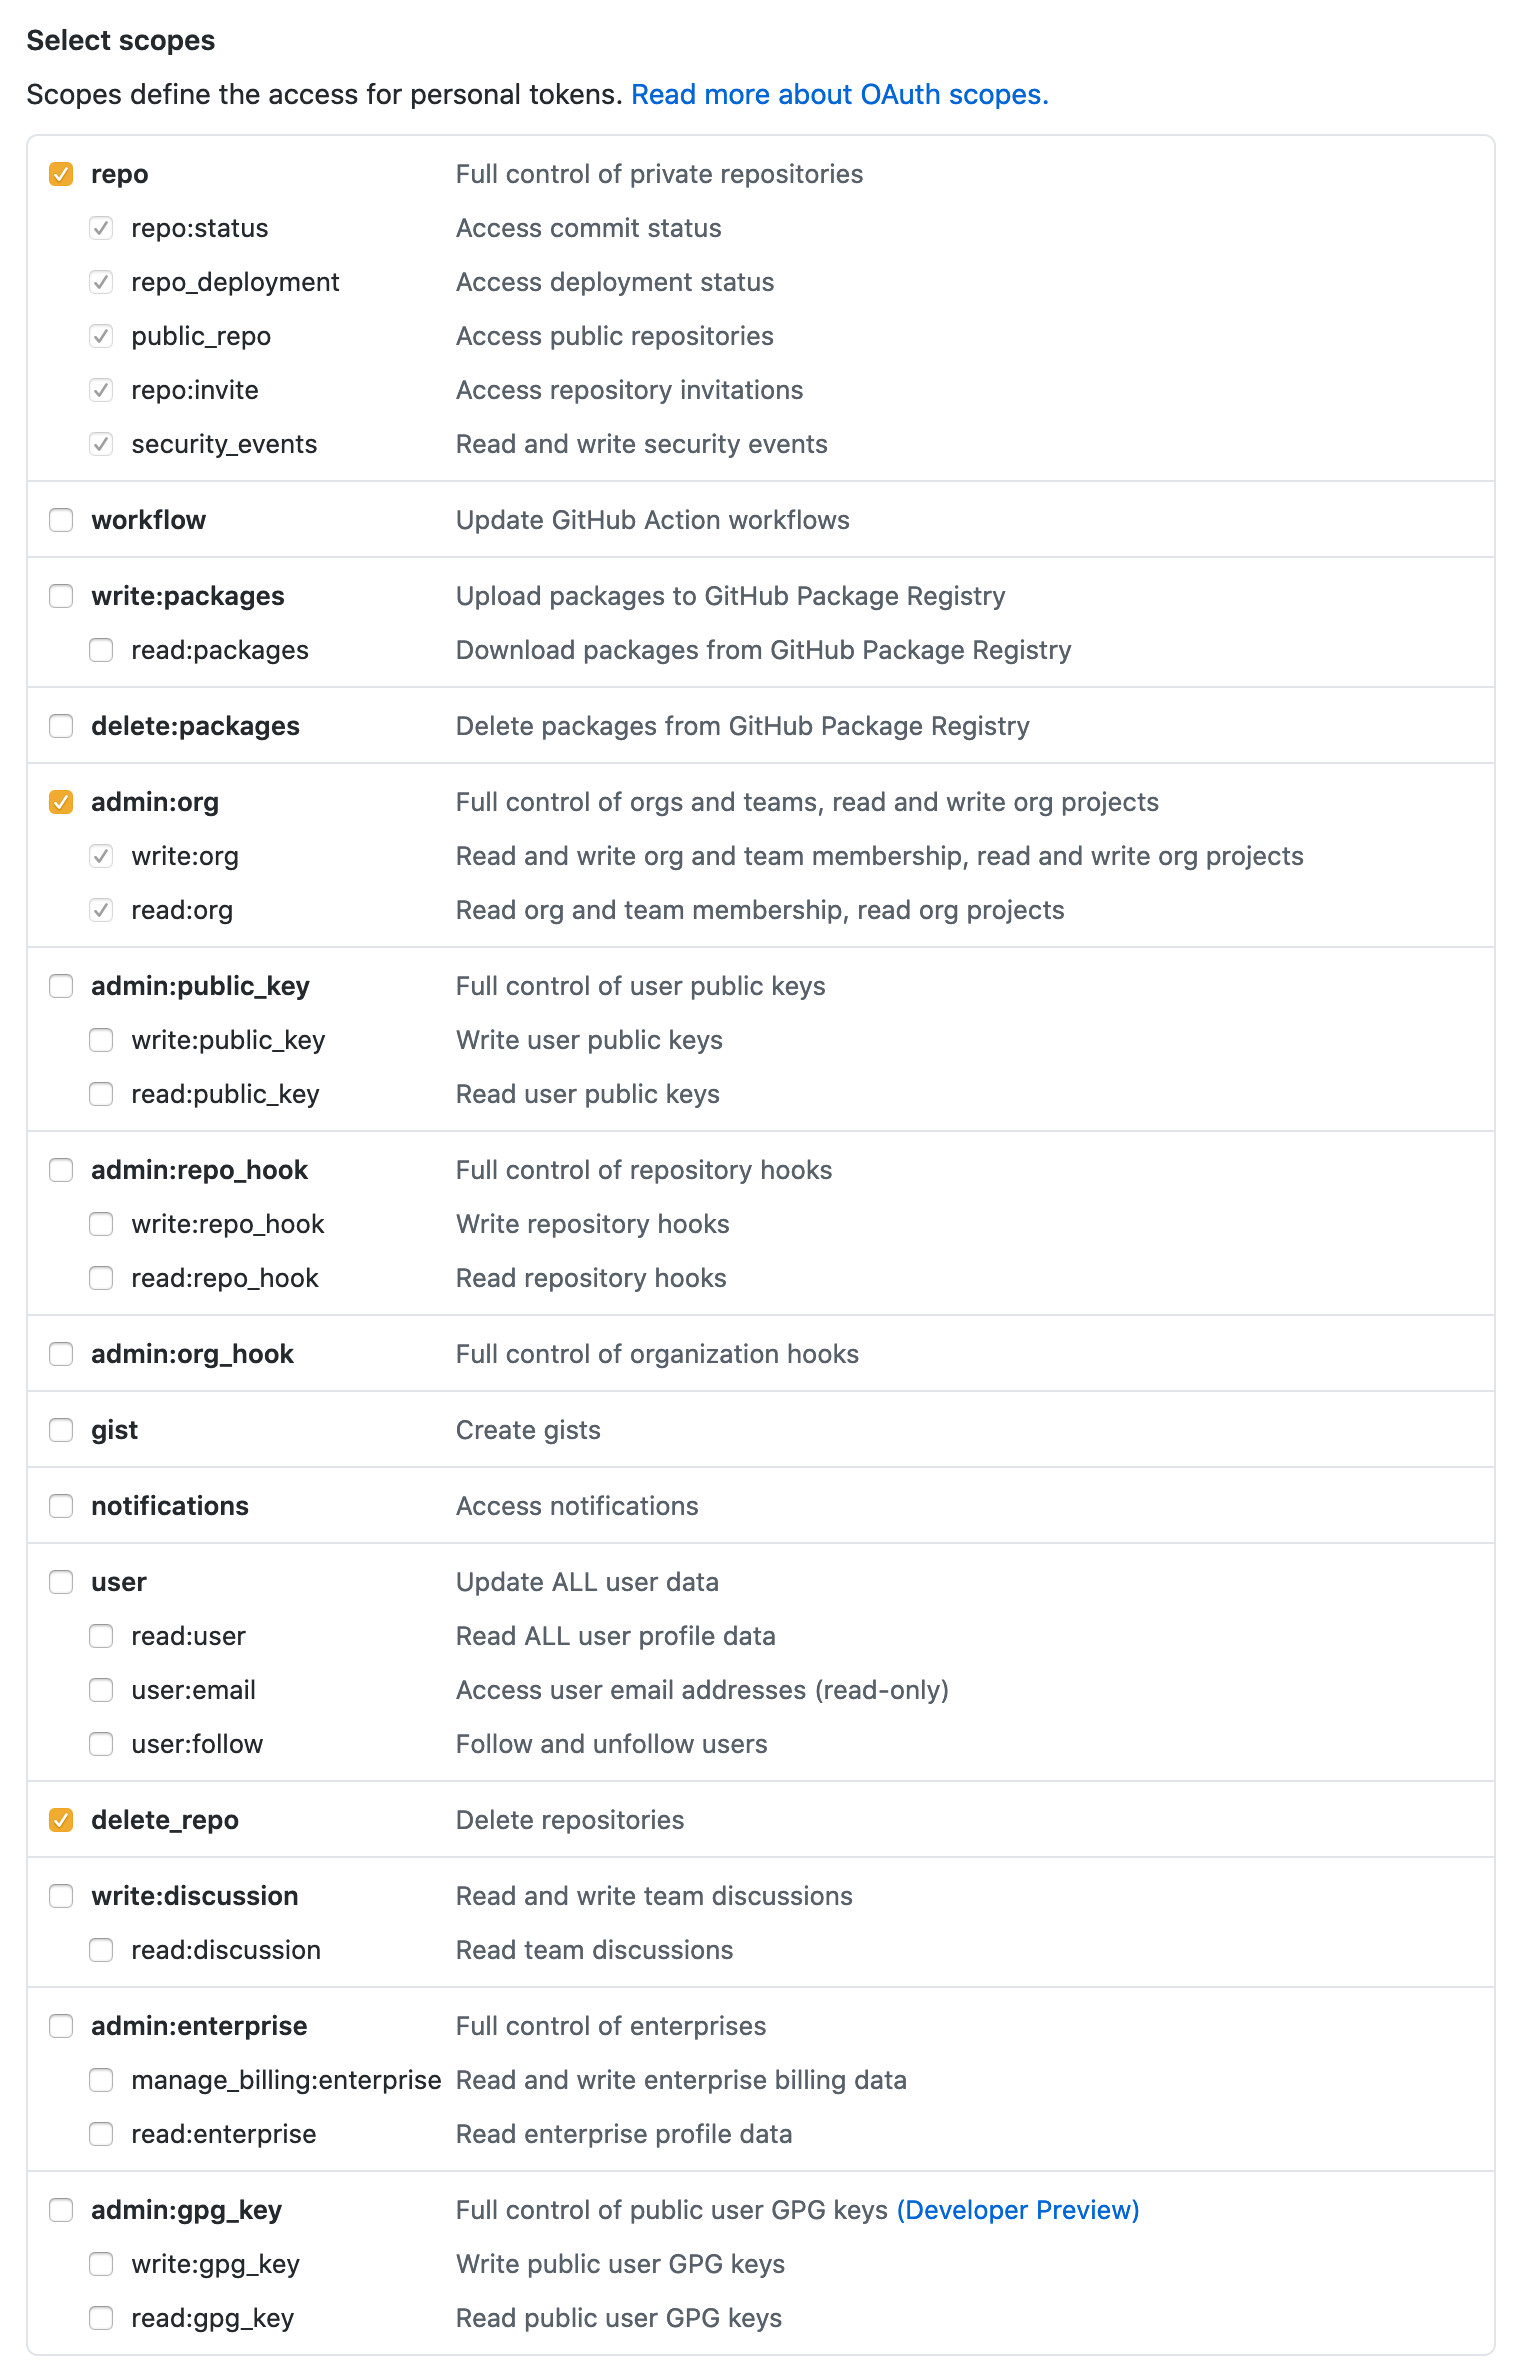
To set up a GITHUB_TOKEN you'll want to go to the tokens area on Github and then generate a new token. The permissions you'll want are:
Once you've created this you'll get given a new token. You'll want to copy this and put it into a .env file in your home directory. If you don't currently have a .env file in ~ you can just run echo 'GITHUB_TOKEN={YOUR_TOKEN}' >> ~/.env replacing {YOUR_TOKEN} with the actual token you got from Github. Once this is done you'll want to run source ~/.env to make sure the environment variable is loaded.
The ~/Code directory is also configurable with an environment variable. You can create a BAO_CODE_DIRECTORY environment variable and give it the path where you want your projects to exist.
Note that you cannot use ~ for your home directory though. Instead you can use /Users/{username}/{path}.
bao create
Once you have node installed you can run npm i -g @by-association-only/cli. This will download the BAO CLI program that will automate creating projects for you.
Once this is installed you can run bao create. You can run bao create from anywhere. You don't need to have the folder ready or be in ~/Code. Once run you'll get prompted with a few questions:
Project name
This should be the merchants name
Theme name
This can likely be left blank. By default it was use the previous answer and append "by BAO" to it
Shopify store name
This will be the myshopify domain you got when you created the store
The private app's API key
This is the API key you get when creating the "BAO Theme Acccess" private app
The private app's password
This is the password you get when creating the "BAO Theme Acccess" private app
The private app's API version
This is the "Webhook API version" you get when creating the "BAO Theme Acccess" private app
Once all of these have been entered it should automate the following:
- Downloading the most recent starter theme and creating a local project based off of this
- Uploading the themes to the store
- Creating the Github project
- Setting up your local .env files
Now you should be good to go! If you encounter any problems then hit Dan up on Slack!